
 “This is good to know,” the woman standing in front of me turned around and said, “especially if you’re selling a horse.”
An image is worth a thousand words apparently. Or in this case, maybe an extra thousand dollars if you get the photo right.
I’m not selling a horse, but I do spend time photographing them, especially here at the Can-Am All Breeds Equine Expo in Markham, Ontario on April 1, 2017. The clinics are valuable at this event, and this one is called How to Photograph Your Horse by equine photographer Shawn Hamilton of CLiX Photography in Campbellcroft, Ontario.
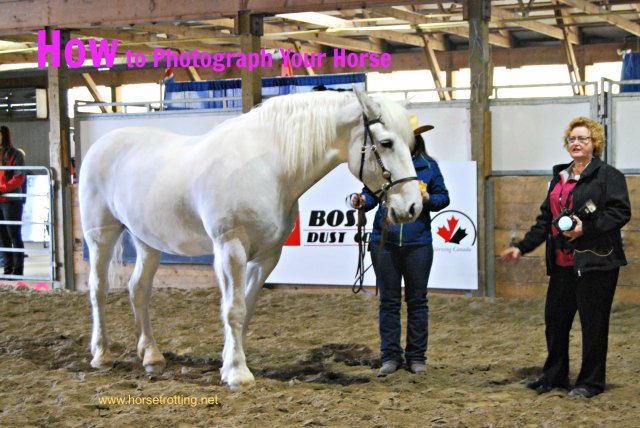
Interested spectators lean along the wooden fence as horses whinny in stalls behind them. Strangely this seminar is offered in the middle of an indoor paddock with no screen or visuals for the presenter to use, only a beautiful white draft horse standing patiently as the model, while Hamilton describes the ‘how tos’ of getting the best promotional shot of a single horse.
Hamilton has specialized in horse photography since 1984 when she left the world of database management and advertising. She shoots equine events, including five Olympics including Barcelona and Hong Kong and now loves doing something near and dear to horsetrotting.net’s heart: photographing horses while travelling and trail riding, including at exotic places like Mongolia.
CLiX offers one to three day equestrian photo workshops at its farm in rural Ontario. But if you can’t get there, here’s Hamilton’s advice for the novice with a DSL, point-and-shoot camera, or cell phone:
- Use sunlight – Photograph the horse outside because natural light works best for all types of cameras, and for profile side shots. Position the horse so the light falls evenly across the horse from mane to tall. Early in the day is best, and late afternoon is a close second.
- Strike a poise – Stand the horse on a flat area and on all four legs evenly. Create a line from the front foot to the back foot. Compensate for any confirmation issues by placing the hind end slightly lower than the front – having someone holding the horse with a lead-line helps.
- Get Lower – Position the camera angle slightly lower than the horse’s belly and shoot up for a side shot. “This is the least flattering angle for people,” Hamilton says, “but not for horses.”
- Focus on Breed Conformation – Know the desirable qualities of a certain breed and shoot to enhance those. For example, Quarter Horses have powerful shoulders and hindquarters, so highlight those by lowering the horse’s head and placing back feet on slightly higher ground.
- Compose carefully – In this case, the star of the photo is the horse so keep the background simple and uncluttered. Shoot in a field, have only a few trees in frame, no telephone poles growing out of the horse and a horizon line slightly above the middle of the photograph.
 Of course, ‘art’ photos follow few rules and what better subject than a horse? Beautiful in full profile and even more stunning in detail, especially eyes, braids and forelocks, a calm horse is the ideal model.
Up next: the final of three Can-Am clinics – Fitting the English saddle
Check out our previous Can-Am All Breeds Equine Expo coverage and How to Fit a Western Saddle.
Want to know more? Check out Photographing the Horse: How to Capture the Perfect Equine Image available on Amazon (affiliate link).
Note: This post contains affiliate links, meaning if you click on a link above and then make a purchase, horsetrotting.net will receive a small commission with no extra cost to you. Cheers!


